
How Custom Printing Transforms Your Takeaway Packaging into a Marketing Tool
Your paper cups and containers can do more than hold food. Learn how high-quality custom printing turns every order into a brand impression.
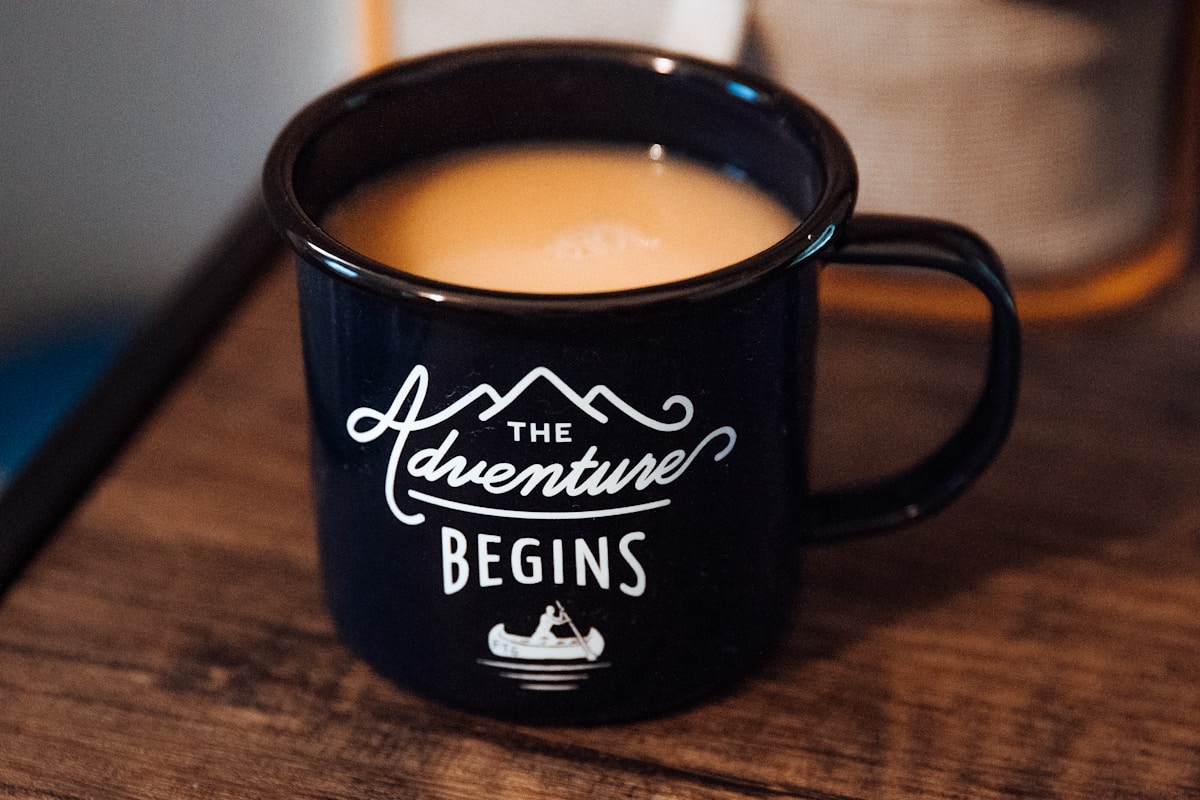
Your Packaging Is Already a Marketing Channel — You Just Might Not Be Using It
Every paper cup, meal box and takeaway bag that leaves your counter is a brand impression. It sits in a customer's hand for fifteen minutes. It appears in a social-media photo. It travels through an office or a park bench. Yet many food businesses still treat packaging as a blank commodity — a cost line to minimise rather than a channel to invest in.
This article explains how custom printing on paper food packaging works, what it costs and how to get the most brand value out of every printed container you buy.
1. The Real Reach of a Printed Paper Cup
Consider the journey of a single takeaway coffee cup in a busy city:
- The barista hands it to the customer at the counter — first impression.
- The customer carries it through the street — mobile billboard.
- The customer places it on a desk in an open-plan office — 30+ passive impressions.
- The customer snaps a photo and posts it to Instagram or TikTok — hundreds of digital impressions.
Marketing studies have estimated that a single branded takeaway cup generates between 300 and 500 passive brand impressions during its lifetime. Multiply that by tens of thousands of cups per month and the reach starts to rival paid digital advertising — at a fraction of the cost per impression.
2. Understanding the Printing Methods
Not all printing on paper packaging is created equal. The method you choose affects colour accuracy, unit cost, minimum order quantity and the types of design that are practical to produce.
Flexographic (Flexo) Printing
Flexo is the workhorse of the paper-cup industry. It uses flexible relief plates to transfer ink directly onto the curved surface of the cup. It is fast, cost-effective and ideal for designs with 1–6 solid colours.
- Best for: logos, bold typography, simple patterns, single-colour branding.
- MOQ: typically 5,000–10,000 units per design.
- Turnaround: 15–20 days after artwork approval.
- Cost factor: low plate costs; unit price falls sharply at higher volumes.
Offset Printing
Offset printing transfers ink from a plate to a rubber blanket and then onto the paper surface. It produces sharper detail and more accurate colour matching than flexo, making it the preferred method for photographic images, gradients and multi-colour artwork.
- Best for: detailed brand artwork, photo-realistic images, full-colour wraps.
- MOQ: typically 10,000–50,000 units (higher tooling cost requires volume to amortise).
- Turnaround: 20–30 days after artwork approval.
- Cost factor: higher initial setup but better per-unit economics at scale.
Digital Printing
Digital printing is the newest option for paper food packaging. No plates are required — the artwork is printed directly from a digital file. This makes it ideal for short runs, personalised designs and seasonal limited editions.
- Best for: small batches, event-specific designs, personalised cups, market testing.
- MOQ: as low as 1,000 units.
- Turnaround: 7–12 days from file approval.
- Cost factor: highest per-unit cost, but zero plate charges — often the cheapest option below 5,000 units.
3. Designing for the Container Surface
Paper cups and containers are three-dimensional objects with seams, tapers and curved surfaces. Designing for them is different from designing for a flat screen or print sheet.
Key Design Principles
- Work with the taper: paper cups taper from top to bottom. A circle drawn as a perfect square on screen will appear distorted on the actual cup. Ask your manufacturer for a die-line template before starting artwork.
- Respect the seam zone: where the cup wall overlaps to form the seam, printing may be slightly misaligned. Keep critical text and logos at least 15 mm away from the seam area.
- Use vector artwork: logos and icons should be supplied as vector files (AI, EPS or PDF) with all fonts outlined. This prevents pixelation at production resolution.
- Limit solid fills on single-wall cups: large solid-colour areas on thin single-wall cups tend to reveal printing pinholes. Use patterns, textures or lighter tones for background coverage.
- Consider the lid overlap: anything printed within the top 10 mm of the cup will be hidden under the lid. Keep that zone clear.
Colour Management
Paper is not a white screen — it has a natural warm tone that shifts printed colours slightly. To get predictable results:
- Specify Pantone (PMS) spot colours rather than CMYK values whenever possible.
- Request a colour proof on the actual paper stock before mass production.
- Accept that ±5% colour variation is normal in flexo printing — brand-critical colours should be spot-matched.
4. Printing on Different Container Types
The same printing principles apply across all paper food packaging, but each container type presents its own production constraints.
| Container | Typical Print Area | Recommended Method |
|---|---|---|
| Paper cups | Full outer wrap | Flexo (1–6 colours) or offset (full colour) |
| Soup bowls | Outer sleeve | Flexo or offset sleeve label |
| Salad bowls | Lid and/or body wrap | Flexo for body; digital for lid |
| Meal boxes | Lid surface | Flexo or custom-printed sleeve |
| Paper bags | Front and back panels | Flexo or offset flat-bed |
5. Measuring the ROI of Custom Packaging
How do you know if branded packaging is worth the extra cost? Here are three practical metrics:
- Cost per impression: divide the total packaging cost by estimated impressions. A 12 oz printed cup costing $0.04 more than a blank cup, generating 300 impressions, delivers a cost-per-impression of roughly $0.0001 — far below any digital advertising channel.
- Social-media mentions: track branded hashtags and tagged photos after launching printed packaging. Many coffee brands report a measurable uptick in user-generated content within weeks of switching.
- Brand recall surveys: ask customers where they first heard about your brand. Well-designed packaging consistently scores higher than expected in recall studies.
6. Working with Your Manufacturer on Print Projects
- Share your brand guidelines early — supply Pantone codes, logo files and any design restrictions.
- Request die-line templates for each container size before designing.
- Ask for a digital mock-up — most manufacturers can produce a 3D rendering within 2–3 days.
- Approve a physical pre-production sample — never skip this step. Screen colours and printed colours rarely match exactly.
- Confirm ink safety certifications — all food-contact printing must use inks compliant with FDA or EU 10/2011 standards.
At Ascent Pak, our in-house design and pre-press team supports customers through every step — from die-line templates and digital mock-ups to physical samples and mass production. Contact us to discuss your next custom packaging project.
We Are
Manufacturer
Office: Room1810, Century Oriental Plaza CBD, Ningbo, China.
Factory: No.676 Tinghai Road, Chunxiao District, Beilun Ningbo, China.
TEL: 0574-86089899
Email: info@ascentpak.com